Running iOS Unit & UI Tests
You can easily run your Unit and UI tests for your iOS applications during builds.
Unit tests usually test a piece of your code and confirm the code behaves as expected in certain conditions.
Creating tests for iOS applications
Unit tests are created in Xcode using the XCTest framework. Test methods are stored in XCTestCase subclass.
You can create unit tests in Xcode using the Test Navigator. Open the Test Navigator and click on the + icon in the lower left corner. Select New Unit Test Target. You should see the bundle and the XCTestCase subclass created.
You can now use XCTAssert functions to test your models or other assets.
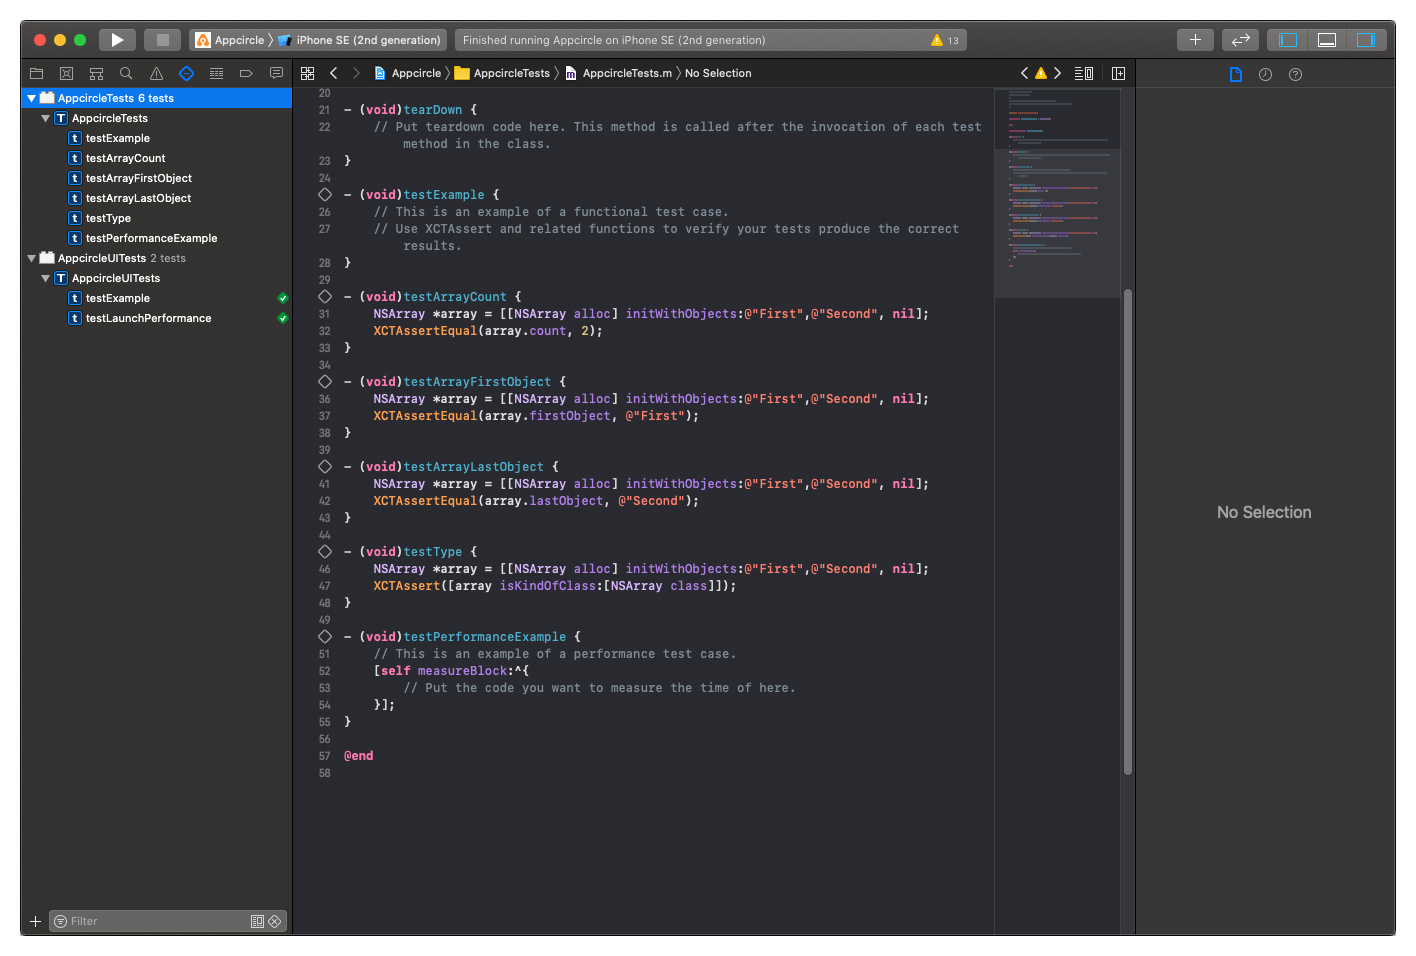
Performing iOS application tests in Appcircle
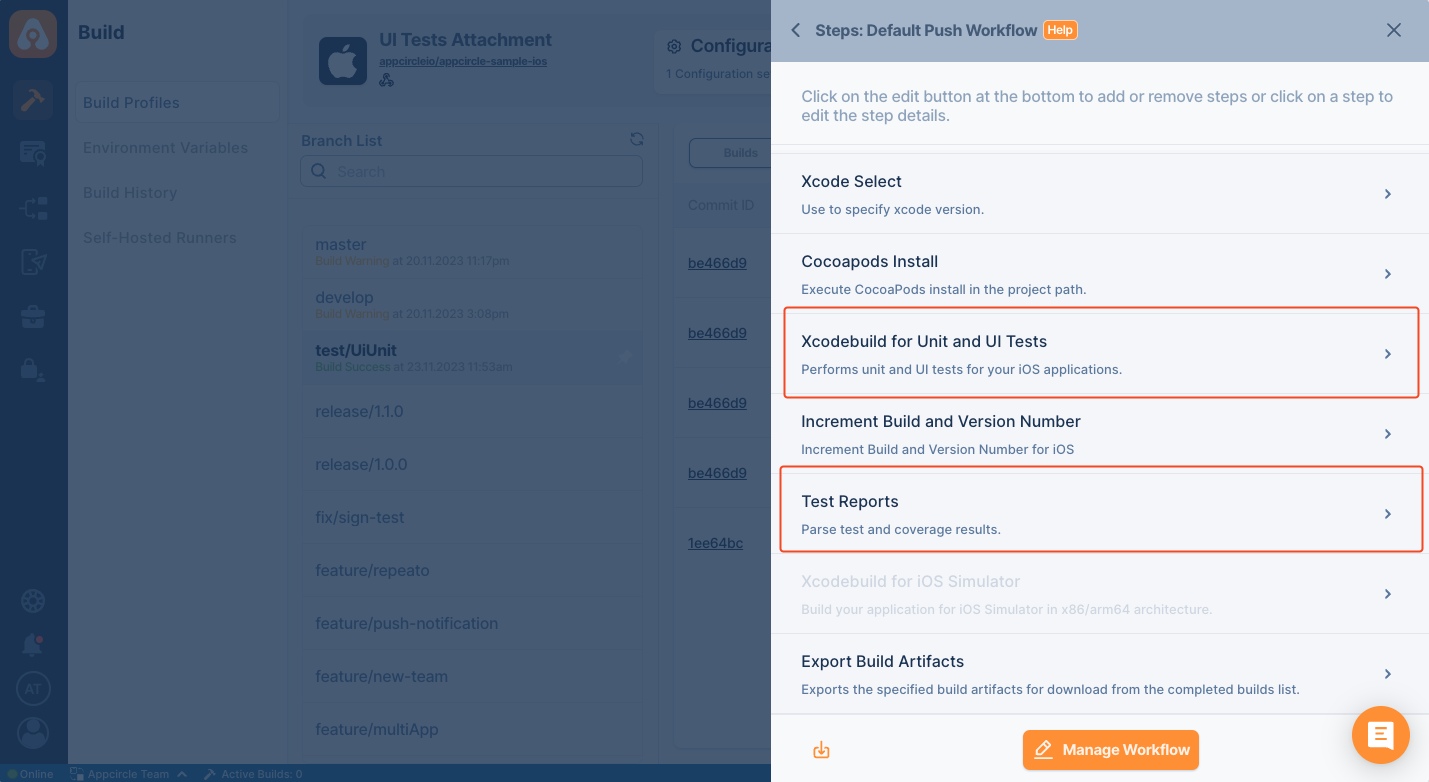
To run your tests during the build process, you can simply add the Xcodebuild for Unit and UI Tests step in your workflows.
Make sure the step is after the Xcode Select step and before Export Build Artifacts. You can optionally run a regular build afterwards by adding Xcodebuild for Devices/Simulators step after the Xcodebuild for Unit and UI Tests step.
See the following page on our documentation to learn more about adding new workflow steps:
What are Workflows and How to Use Them?To learn more about Xcodebuild for Unit and UI Tests step, visit its source on Github:
Getting test results
Code Signing Enabled Builds
If you have Xcodebuild for Unit and UI Tests step in your workflow, Unit & UI test results will be created along with the .ipa file in the Export Build Artifacts step. You can download test results in the same .zip archive and you will see the test.xcresult.zip file that includes test data.
Not Signed Builds
If you don't sign your builds, your test results will be included in the xcarchive file created during Export Build Artifacts. You can alternatively disable your build and sign steps in your workflow and get only test results without building or signing your application.
Optionally, you can use 3rd party tools like 🔗 XCParse or 🔗 XCTestHTMLReport to view your test results in a more user-friendly way.
Generating Test Report
If you add Test Report Component to your workflow, Appcircle will show the result of your tests and code coverage with a clean UI.
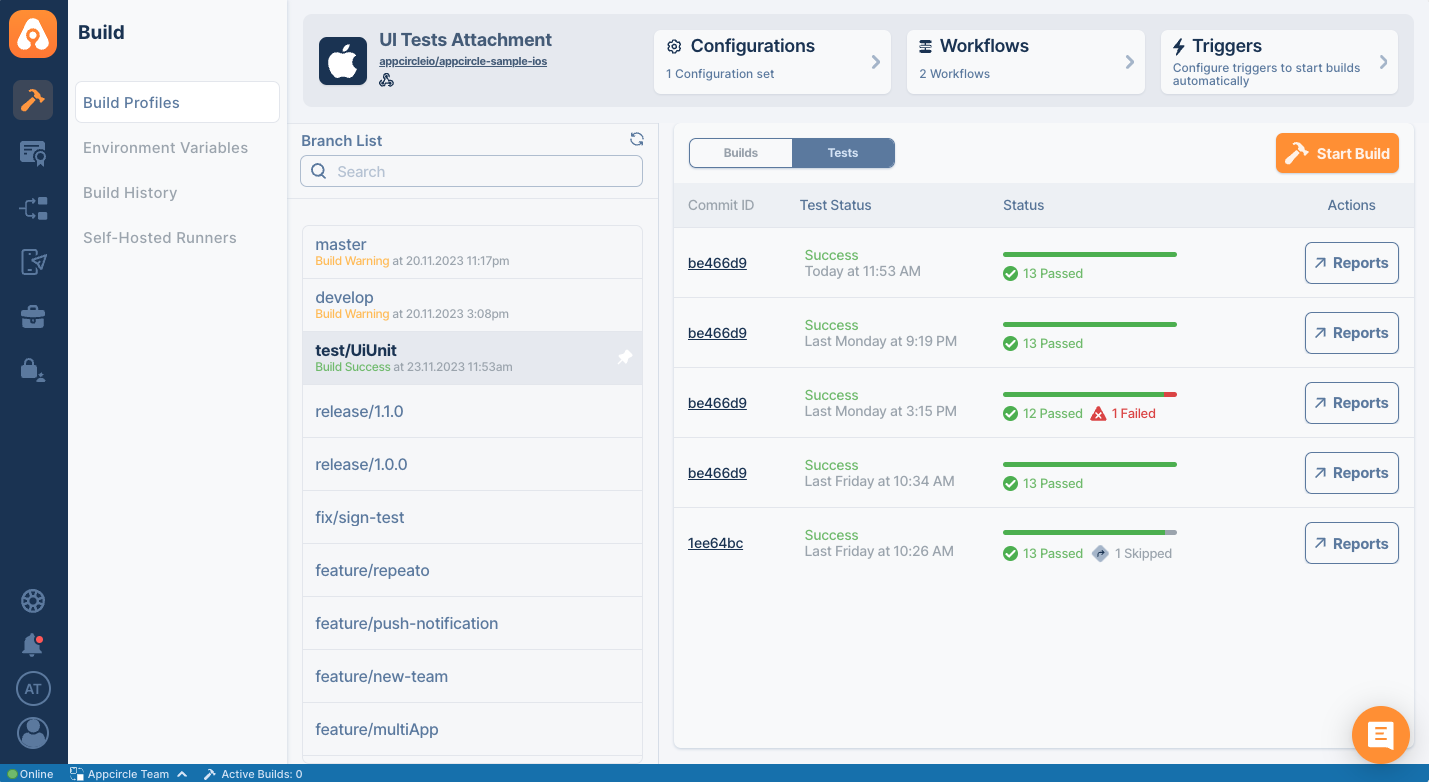
You must add this component after the Xcodebuild for Unit and UI Tests so that it can parse test results. Your workflow should look like the below.
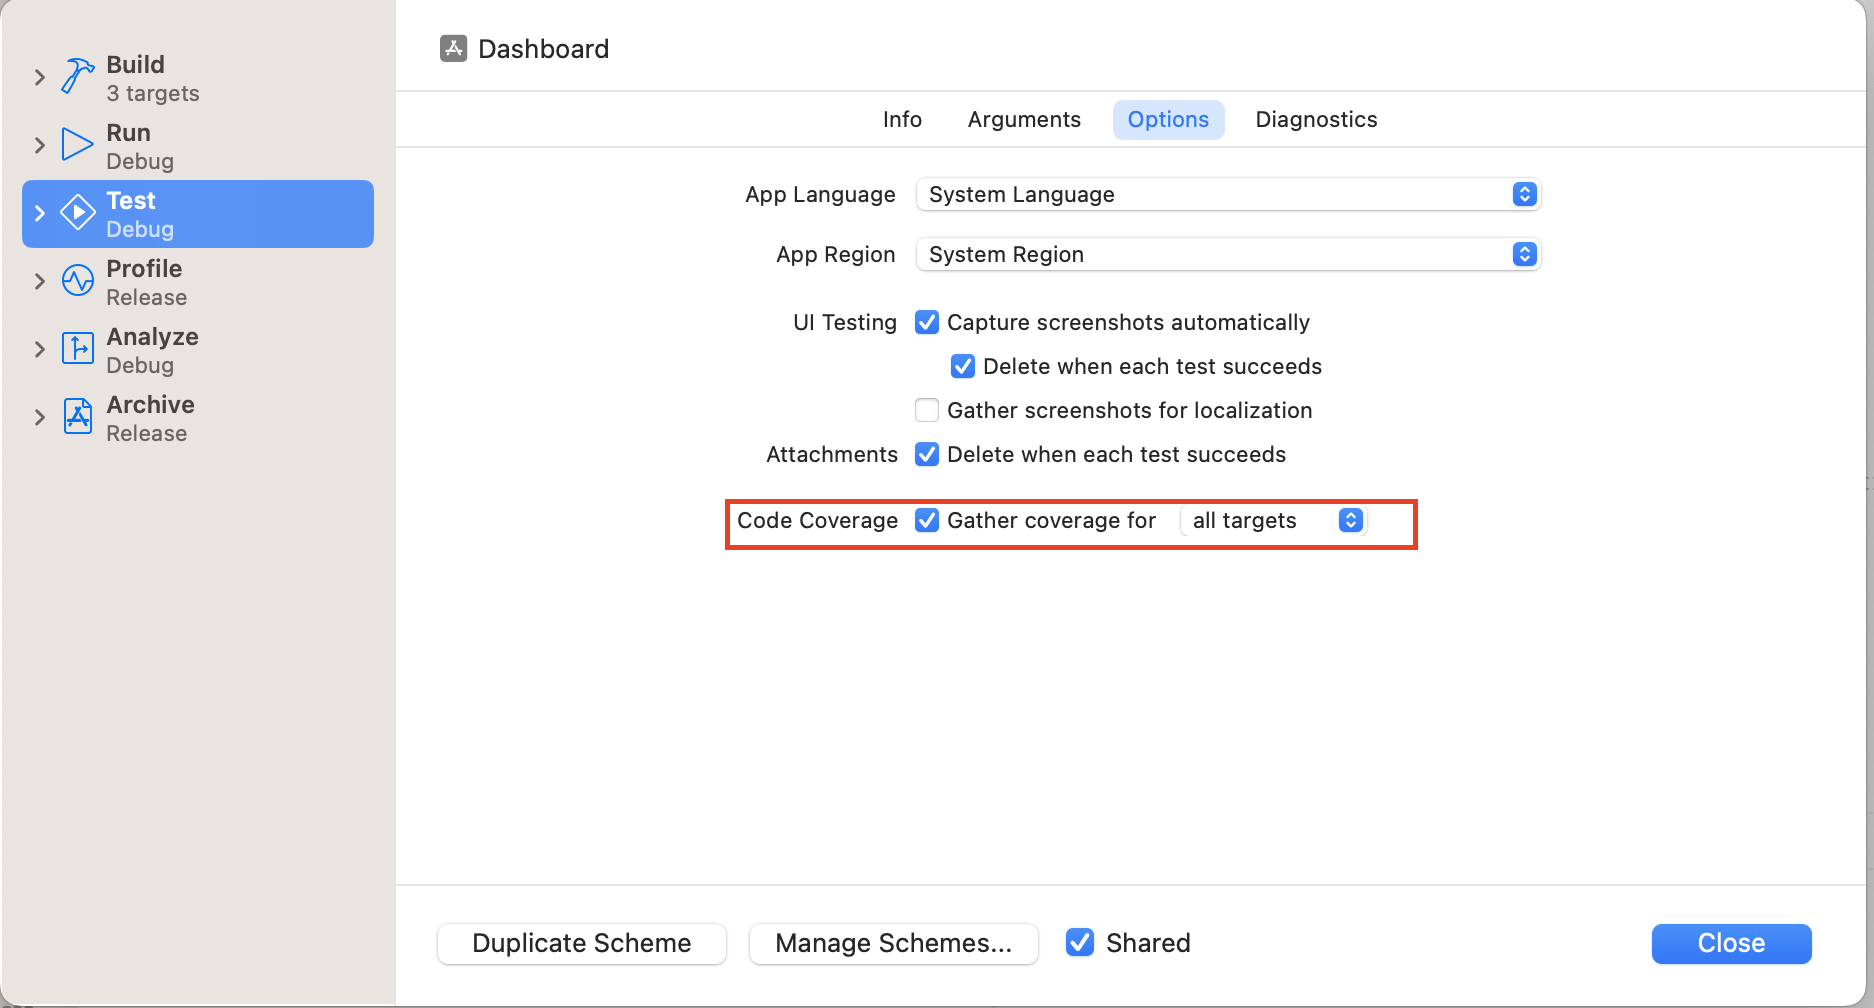
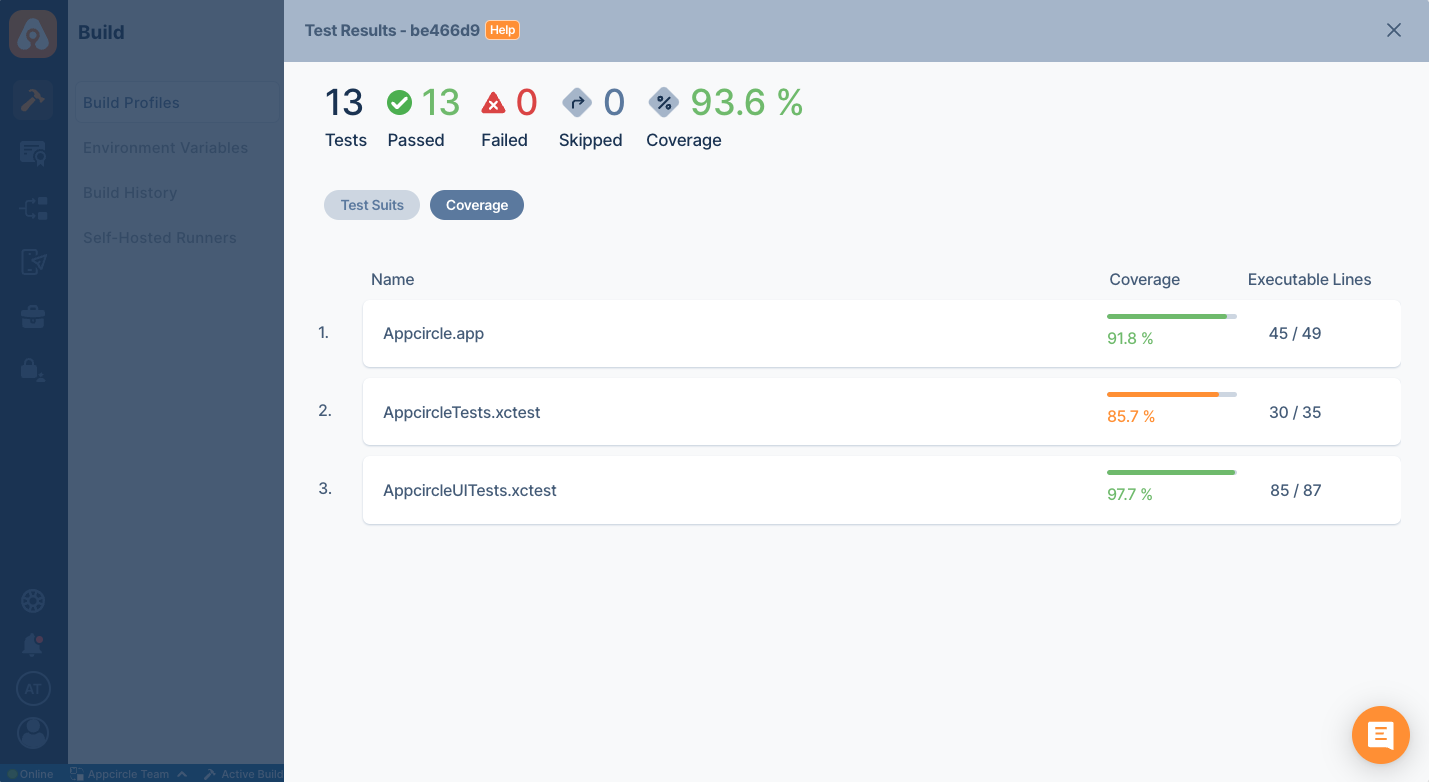
Test Report Component shows both test and coverage results. To show coverage results, you must enable Code Coverage in Xcode's scheme settings.
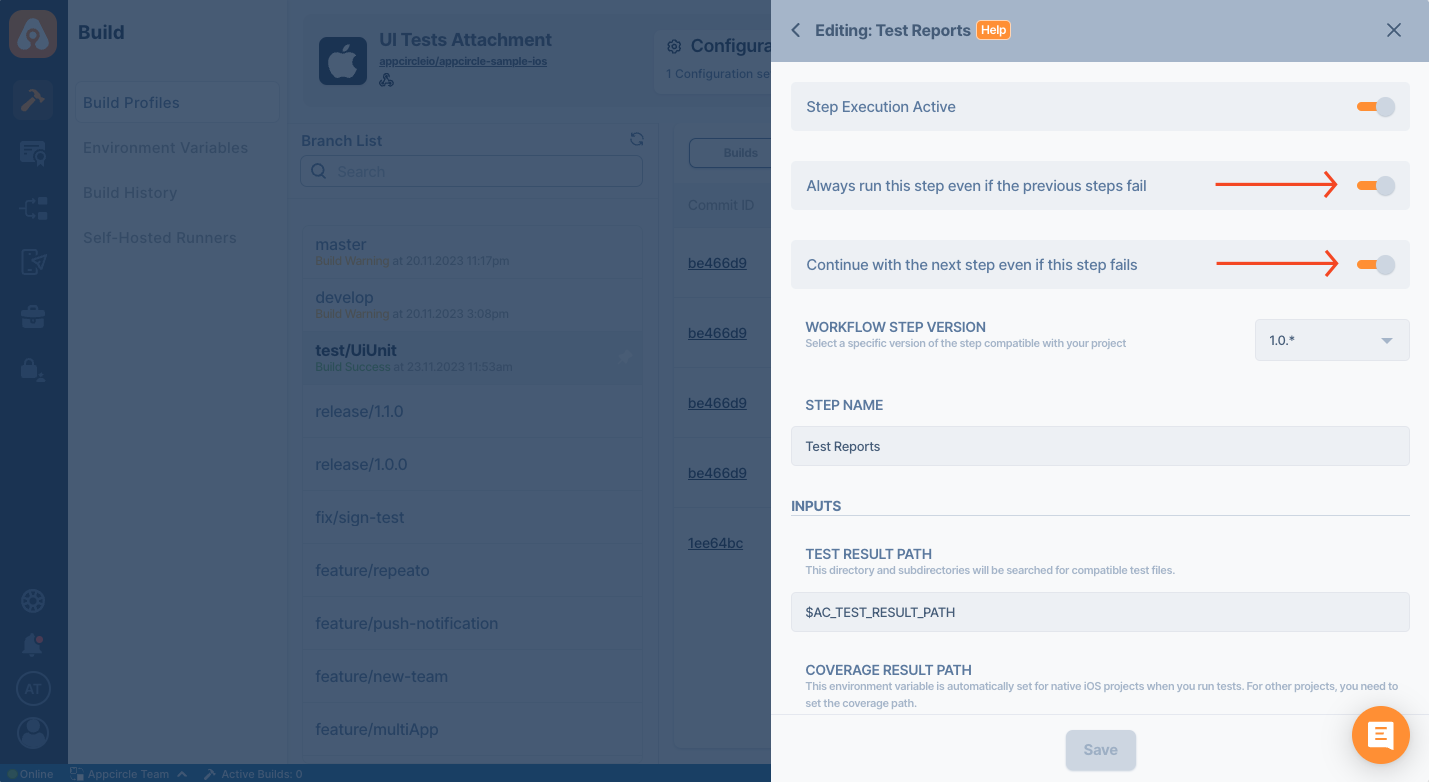
There's one important setting that you should change. If any workflow steps fail, Appcircle automatically skips other steps and jumps directly to the Export Build Artifacts step. However, it is possible that some of your tests may fail. If Test Report Component doesn't run, reports will not be generated. You should turn on the following toggles so that Test Report Component always runs whether your tests fail or pass.
- Always run this step even if the previous steps fail to ON
- Continue with the next step even if this step fails to ON
Showing Test Reports
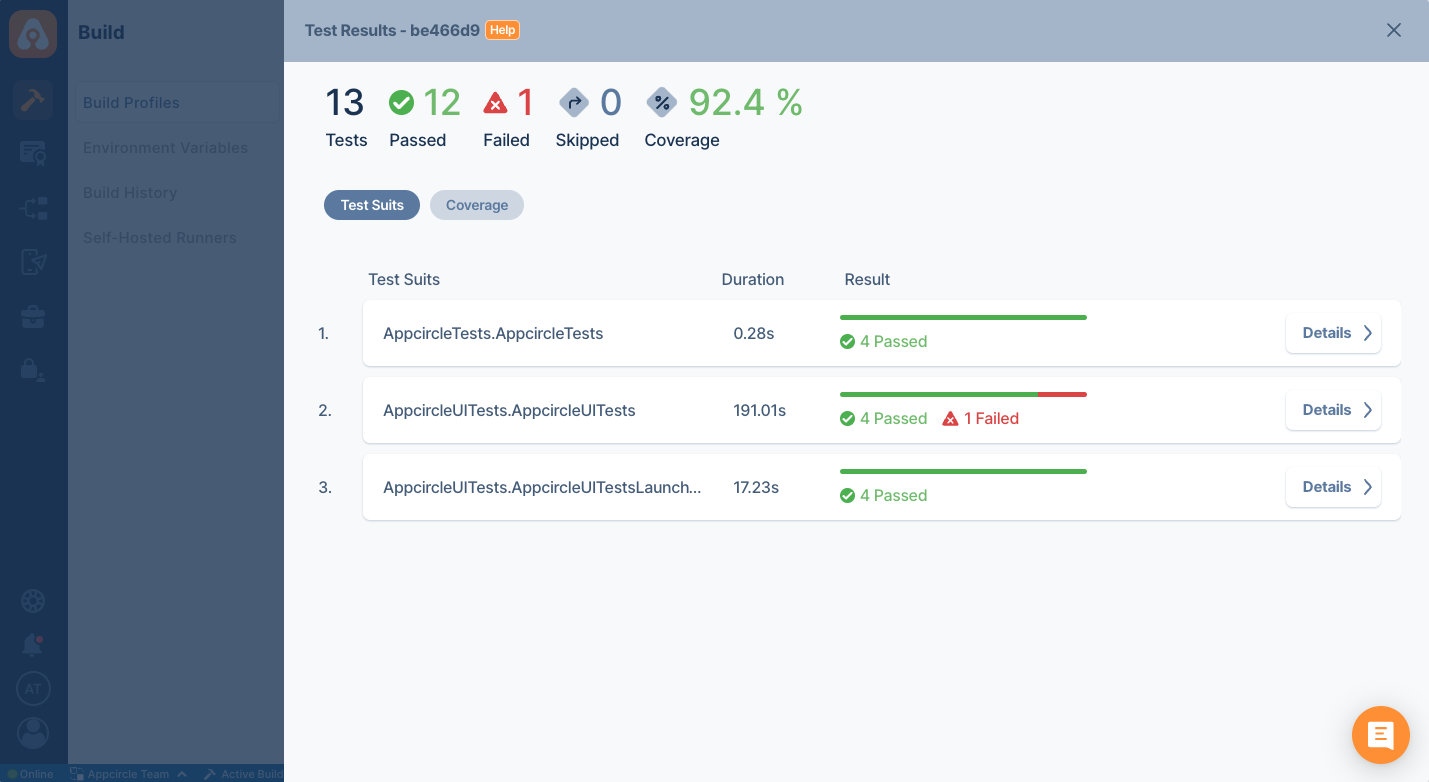
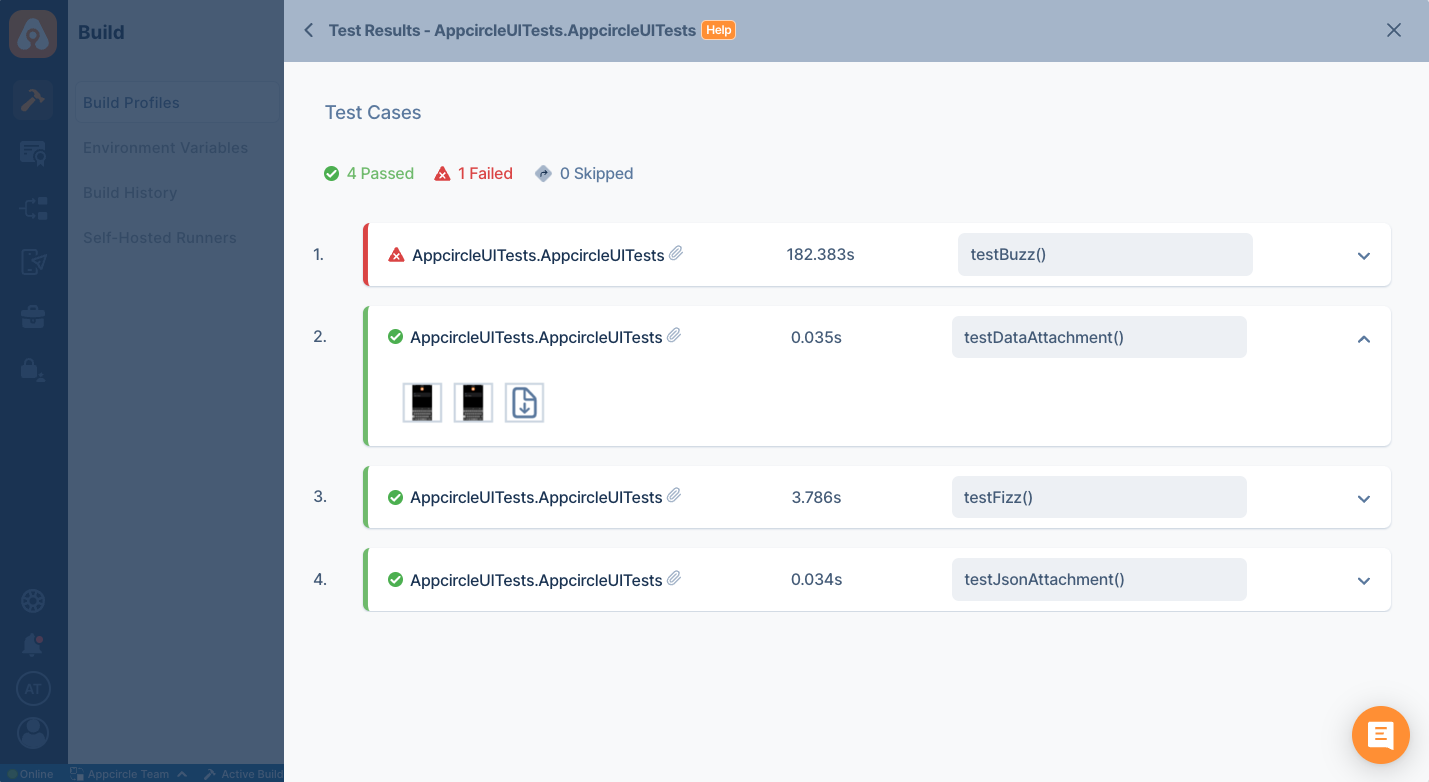
Appcircle can show passing and failing tests in compact UI. If your tests generate artifacts, those artifacts are also displayed with your test cases.
Automated Tests
Appcircle currently supports the following mobile automation testing tools:
Each service allows you to run your tests on real devices, and test scenarios can be started with the artifacts created on Appcircle. Rich reports can be managed by visiting the web site of each service.
However, if your tool supports producing the following test report formats, you can also see the test results on Appcircle. Appcircle's Test Report currently supports the following test and coverage formats:
Test Format
- Xcode 13+
.xctest - JUnit
.xml
Coverage Format
- JaCoCo
.xml - Cobertura
.xml - Lcov
lcov.info
For example, BrowserStack allows you to export test results as JUnit. You can get the results of your tests and code coverage results from BrowserStack by using a simple bash script.
curl -u "$AC_BROWSERSTACK_USERNAME:$AC_BROWSERSTACK_ACCESS_KEY" \
--output $AC_OUTPUT_DIR/myreport.xml \
-X GET "https://api-cloud.browserstack.com/app-automate/espresso/v2/builds/$BUILD_ID/sessions/$SESSION_ID/report"
Appcircle's BrowserStack App Automate(XCUI) step already parses JUnit Test reports. The above code sample is only given as an example.